5 Built-in Tools to Use When Troubleshooting Windows Problems
Windows has significantly improved in stability over the years, especially with Windows 11, which offers a smoother and more secure experience. However, even the best systems encounter occasional issues, from slow performance to system crashes. Fortunately, Microsoft provides several powerful built-in troubleshooting tools that help users diagnose and fix problems without needing third-party software.
In this guide, we’ll explore five essential Windows tools—Event Viewer, Task Manager, Resource Monitor, Command Prompt, and PowerShell—and how they can help you keep your system running smoothly.
Windows has become more stable in recent years, especially with Windows 11, which offers a smooth and safe upgrade process. But like any operating system, issues can still arise. Fortunately, Microsoft includes several built-in troubleshooting tools that make diagnosing and resolving problems easier than ever. Here are five essential tools you should know about.
1. Event Viewer – Your System’s Logbook
Event Viewer acts as Windows’ built-in logging system, recording everything from software installations to system warnings and critical errors. If your PC crashes, freezes, or restarts unexpectedly, Event Viewer can help pinpoint the cause.
Why Use Event Viewer?
Tracks system events, errors, and warnings
Helps identify hardware and driver failures
Useful for diagnosing blue screen (BSOD) errors
Detects security-related incidents
How to Open Event Viewer:
Press Windows + X and select Event Viewer from the menu.
Once opened, navigate to Windows Logs > System to check for recent errors. Look for red error messages or yellow warnings that indicate potential issues.

2. Task Manager – Monitor Running Processes
Task Manager is one of the most widely used troubleshooting tools in Windows. It provides real-time monitoring of applications and background processes, helping users identify resource-heavy programs that may be slowing down their system.
Key Features of Task Manager:
Displays CPU, memory, disk, and network usage
Lets you force-close unresponsive applications
Provides advanced details like GPU and power consumption
Identifies startup programs that slow down boot times
How to Open Task Manager:
Press Ctrl + Shift + Esc to open Task Manager instantly. Alternatively, press Ctrl + Alt + Del and select Task Manager.
In the Processes tab, check which applications are consuming excessive CPU or RAM. If your PC is sluggish, closing unnecessary apps can help improve performance.

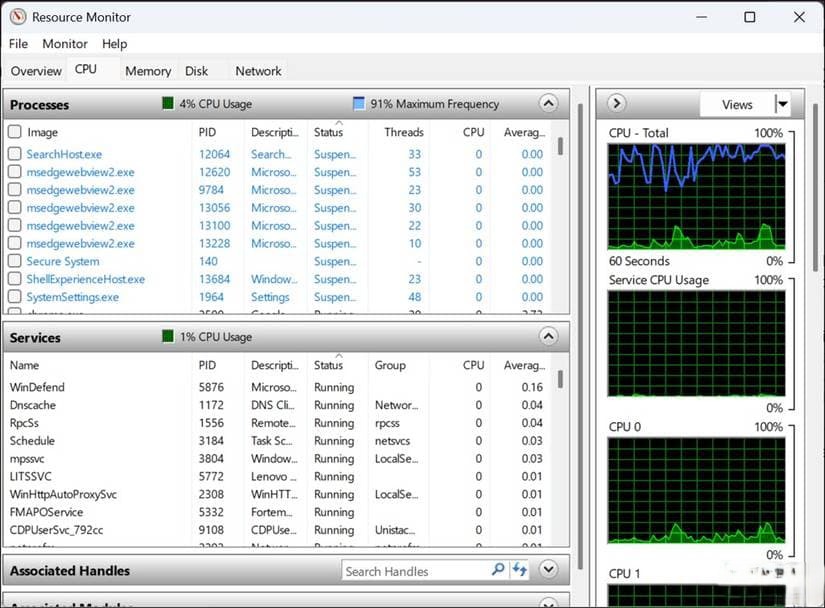
3. Resource Monitor – Deep Dive Into System Performance
Resource Monitor provides a more detailed view of system performance than Task Manager. It allows users to track CPU, memory, disk, and network activity at a granular level.
Why Use Resource Monitor?
Shows which processes are using the most resources
Helps diagnose slow performance and network issues
Displays real-time disk activity per process
Identifies background programs affecting system speed
How to Open Resource Monitor:
Search for Resource Monitor in the Windows Start menu or open Task Manager, go to the Performance tab, and click Open Resource Monitor.
If your PC is running slowly, use the CPU and Disk tabs to see which programs are causing bottlenecks.
4. Command Prompt – The Classic Troubleshooting Tool
Command Prompt (CMD) is a powerful Windows tool that lets users execute commands to diagnose and fix system errors. While it may seem intimidating at first, a few simple commands can help resolve common issues.
Useful Command Prompt Commands:
sfc /scannow– Scans and repairs corrupt system fileschkdsk /f– Checks and fixes disk errorsipconfig /flushdns– Clears DNS cache to resolve network issuesnetstat -ano– Displays active network connections (useful for spotting suspicious activity)
How to Open Command Prompt:
Press Windows + R, type cmd, and hit Enter. For advanced tasks, run it as an administrator by searching Command Prompt, right-clicking, and selecting Run as Administrator.

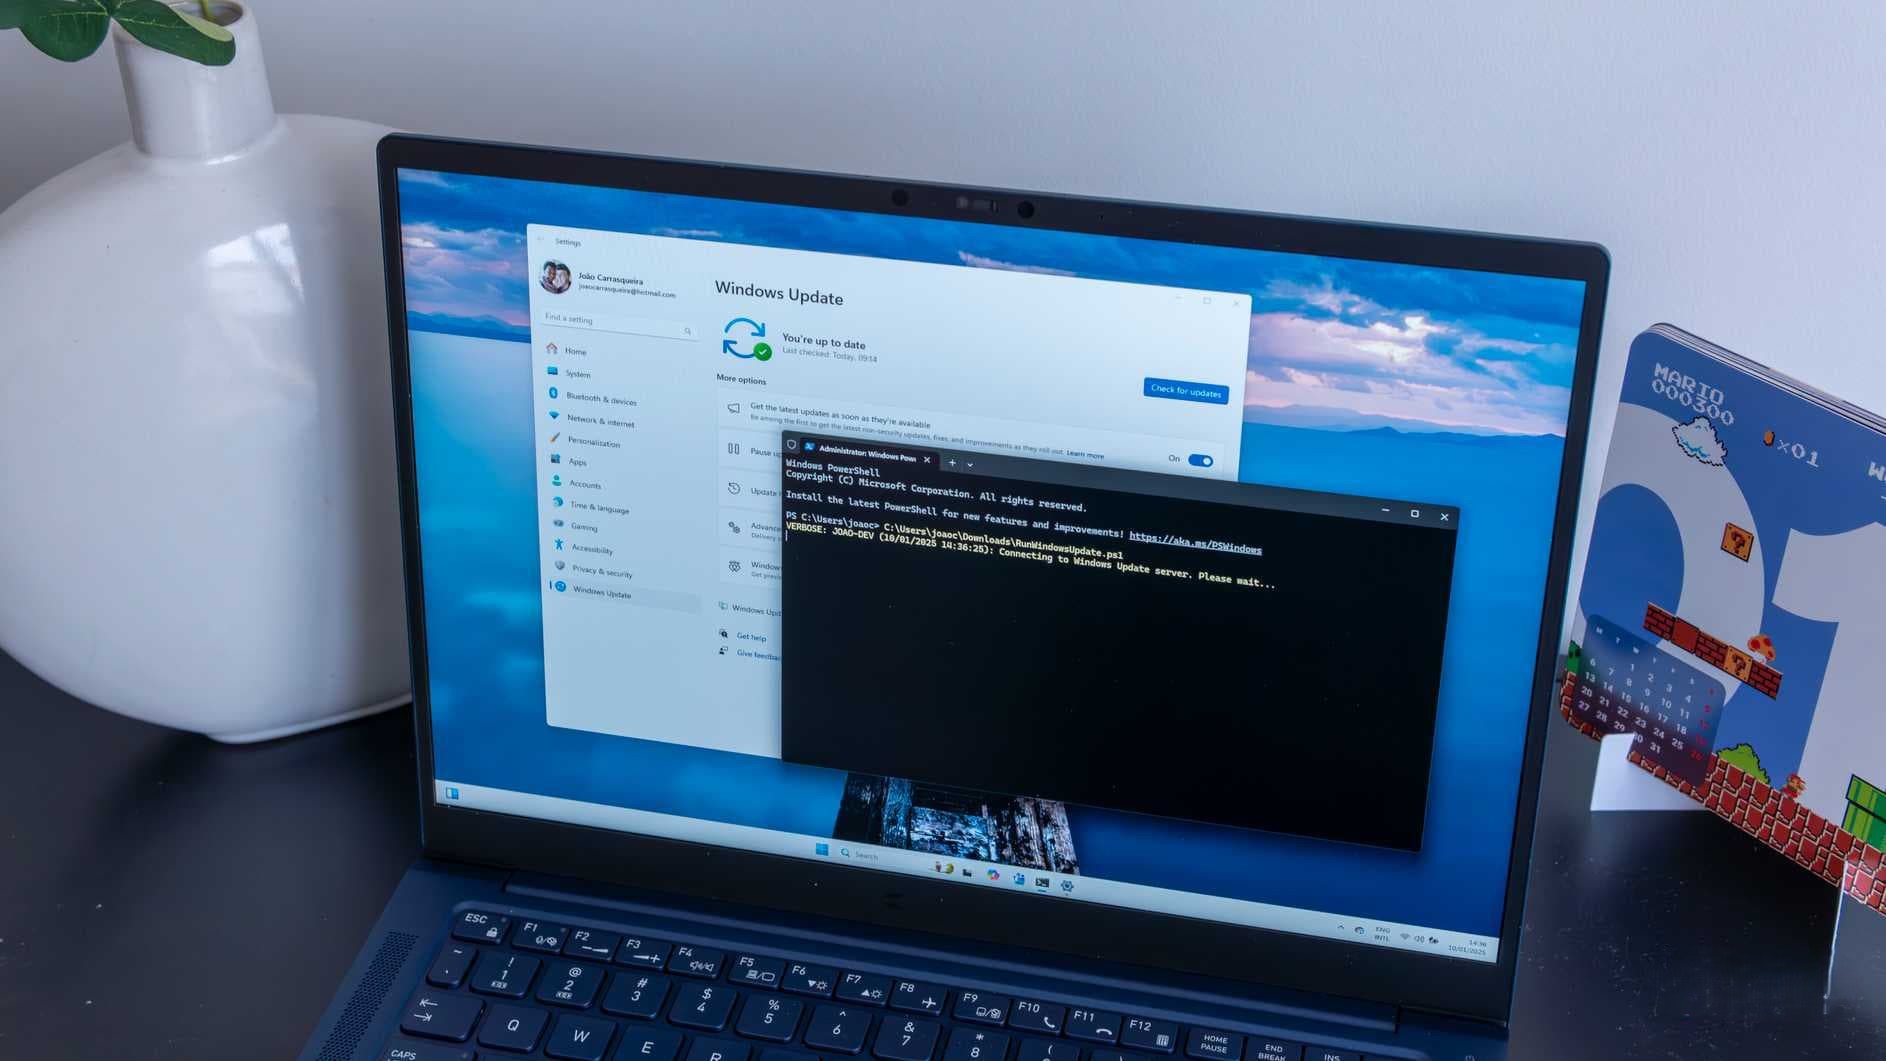
5. PowerShell – Advanced Troubleshooting and Automation
PowerShell is a more powerful and flexible alternative to Command Prompt. It’s particularly useful for IT professionals and advanced users who need to automate tasks or troubleshoot deeper system problems.
What PowerShell Can Do:
Automates system management tasks
Runs complex scripts to troubleshoot errors
Manages Windows updates and settings across multiple devices
Allows bulk changes for network configurations
How to Open PowerShell:
Search for Windows PowerShell in the Start menu. For full administrative access, select Run as Administrator.
Try running Get-Help to see a list of available PowerShell commands.

Final Thoughts: Fix Windows Issues with Built-in Tools
Windows provides robust built-in tools to diagnose and fix common system issues without needing external software. Whether you're dealing with slow performance, crashes, or connectivity problems, these five tools—Event Viewer, Task Manager, Resource Monitor, Command Prompt, and PowerShell—are essential for troubleshooting.
Quick Recap:
Event Viewer – Logs system events and errors
Task Manager – Monitors running processes and resource usage
Resource Monitor – Provides detailed performance insights
Command Prompt – Fixes system and network issues with commands
PowerShell – Automates troubleshooting and advanced system tasks
By familiarizing yourself with these tools, you’ll be better equipped to handle Windows-related problems efficiently.
Looking for more troubleshooting tips? Check out our guide on 6 Essential Task Manager Columns that can further help you optimize your system performance.
Share Your Experience
Have you used any of these tools to fix a Windows issue? Share your thoughts and troubleshooting experiences in the comments below!
✅ Liked this guide? Share it with friends and help them keep their Windows PCs running smoothly!
Post a Comment